


Many people have asked me how I make my labels so I have decided to make this little tutorial including pictures and any little tips that I have learned along the way. You will find that making your own labels is quite simple and much cheaper than purchasing custom labels. Pour yourself a cup of tea and enjoy.
Materials needed:
computer, graphics program (I used photoshop) & inkjet printer
regular printer paper
iron-on transfer paper
utility knife, cutting mat & metal ruler
ribbon (I used 1/2 inch natural cotton twill tape)
iron & ironing board
scissors

Step 1: Design your image using your program of choice working with a resolution of 300ppi for a clear image. The height of your image should be smaller than the width of your ribbon. Print some out on regular paper, cut them out and see how they fit on your ribbon. Fill up an entire page, repeating images in rows and leaving about an inch between the images in each row. The rows can be fairly close together. *Remember to reverse your image! I can get 96 labels out of one sheet of transfer paper which I think is pretty economical.

Step 2: Print your labels. Follow the transfer paper instructions to set your printer for the right type of paper. Print a test sheet on regular paper first making sure that the image is reversed. Print a sheet of labels on the transfer paper (I have decided to print a few larger labels this time for my bags).

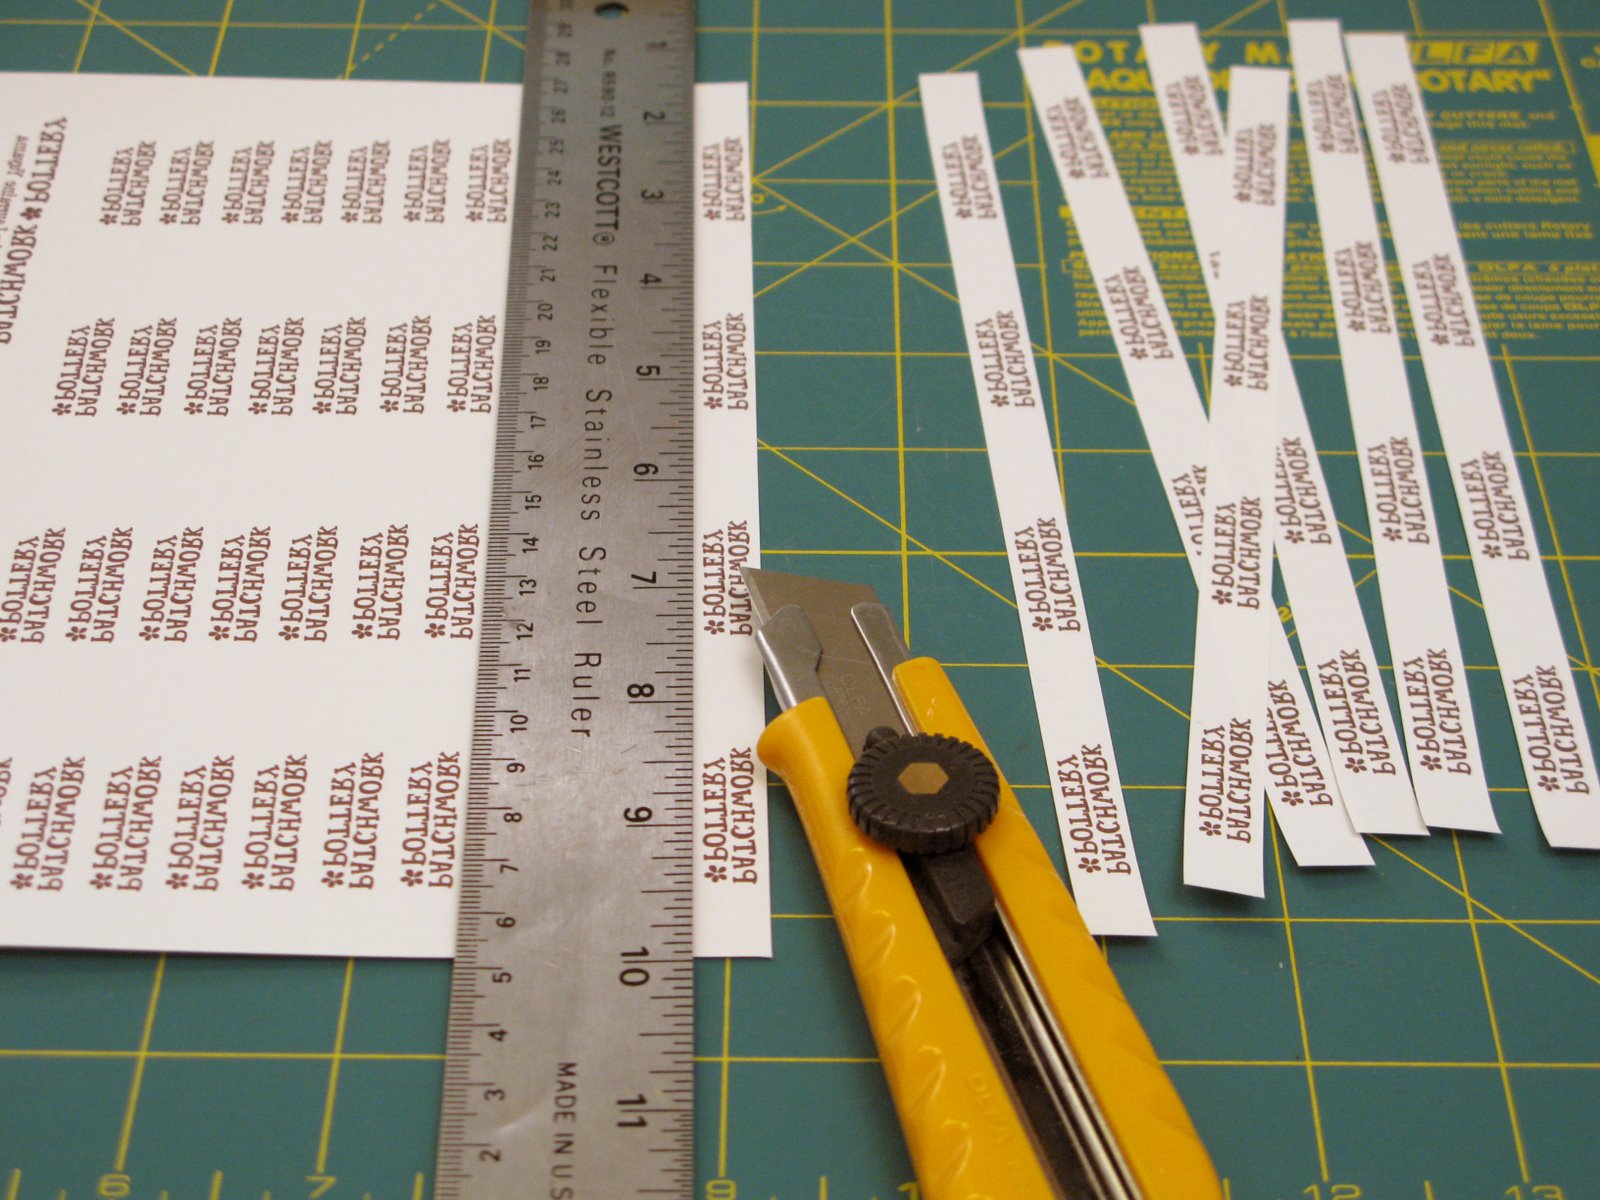
Step 3: Cut out the images preferably into long strips using your utility knife, cutting mat and ruler. Leaving them in strips will save time when ironing and you will be less likely to burn your fingertips. (I know you are not supposed to use utility knives on these mats but it's better than cutting up my new desk!)
Step 4: Iron the transfer onto the ribbon. Lay the ribbon flat. Place a strip printed side down. Press the strip down with the iron. Once it is adhered, slide the iron across several times. *Make sure the iron is not too hot. If your iron is too hot or if you iron it too long, your image will melt! See below.


Step 5: Peel off the backing paper. Wait until the twill tape has cooled before removing the paper. I always leave the previous paper strip on to protect the iron when I am adding a new strip. *The transfer will melt if the iron touches it!


Step 6: Use them! Make a whole roll of labels or cut them as desired. You can turn the ends under and stitch them to your project, or you can fold them in half and sew them into a seam to create a loop tag. Now you are ready to add them to all your wonderful creations!
You could also make laundering instruction labels, and quilt labels using this same method!
- - - - - - - - - - - - - - - - - - - - - - - -
***Additional TIP (added April 28, 2011)***
To remove most of the plastic feel of the transfer paper and to set the image even more, lay baking parchment paper over the transferred image and iron again with a hot iron. It really works!


